Install Vivado
Generating a bitstream for Xilinx devices requires a Vivado installation. Please note that the “WebPACK” edition does not support the Xilinx Kintex UltraScale XCKU095 used on the CW341 board.
For software development, Vivado is not necessary for most workflows.
We previously used Vivado’s updatemem to splice ROM & OTP images into the bitstream, which required the (free) Lab edition of Vivado.
This has since been migrated to instead use an FPGA-specific IP to program memories over JTAG, and thus is no longer necessary.
Install Xilinx Vivado
Vivado Version: The recommendation is to use Vivado 2021.1.
Following the arrival of Vivado ML Edition, you will need to follow the links for that, eg. Products -> Hardware Development -> Vivado ML. Then click on ‘Vivado Archive’ in the Version list and locate version 2021.1 of Vivado Design Suite.
See Download and Installation for installation instructions.
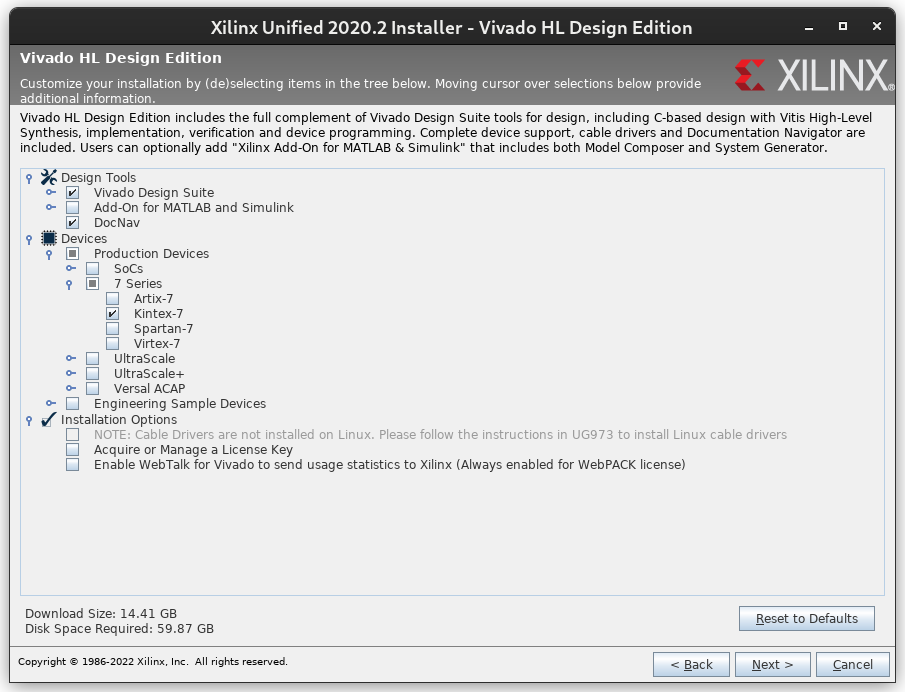
When asked what edition to install, choose “Vivado HL Design Edition”. On the feature selection screen, select at least the following features:
After installing Vivado, you will need to add Vivado’s paths to your shell environment. See Launching the Vivado IDE from the Command Line on Windows or Linux for instructions.